How to See a Summary of the Article with One-Click

There are two ways of using the article summary feature by Glasp.
- Install Glasp’s Chrome extension and make a Glasp account.
- Install Glasp’s Chrome extension and don’t make a Glasp account.
Step 1: Access the Glasp page
You can access the Glasp page from the link below
👉 Glasp - Social Web Highlighter
Step 2: Install Glasp’s Chrome extension
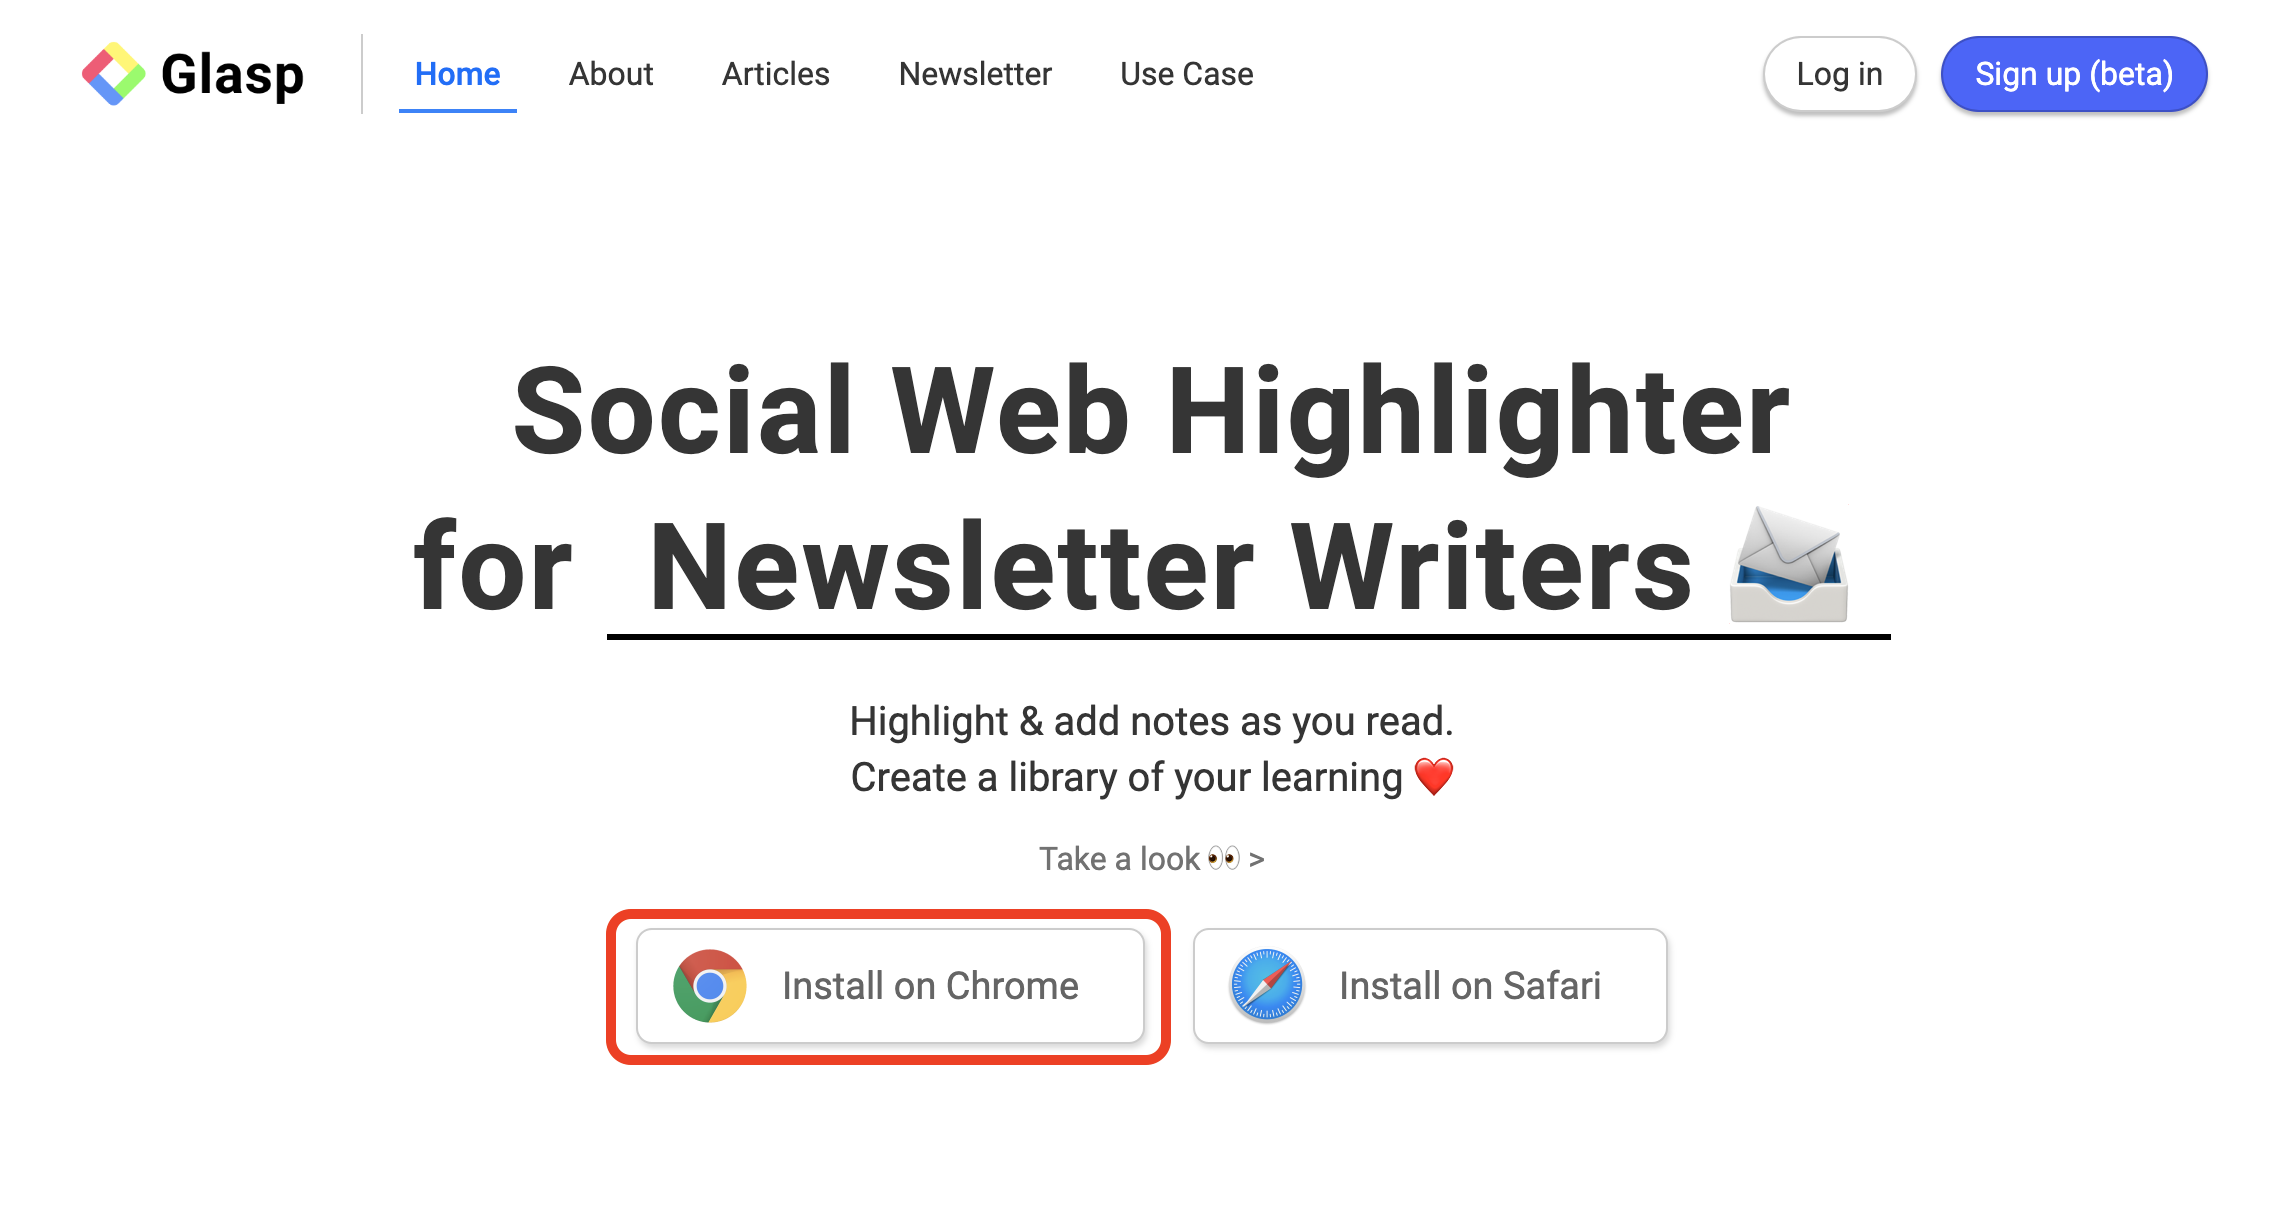
As you can see a square in red in the photo above, you can click Install on Chrome and go to the web page. And please click Add to Chrome to install the extension.
* The article summary feature is not available on Safari yet.
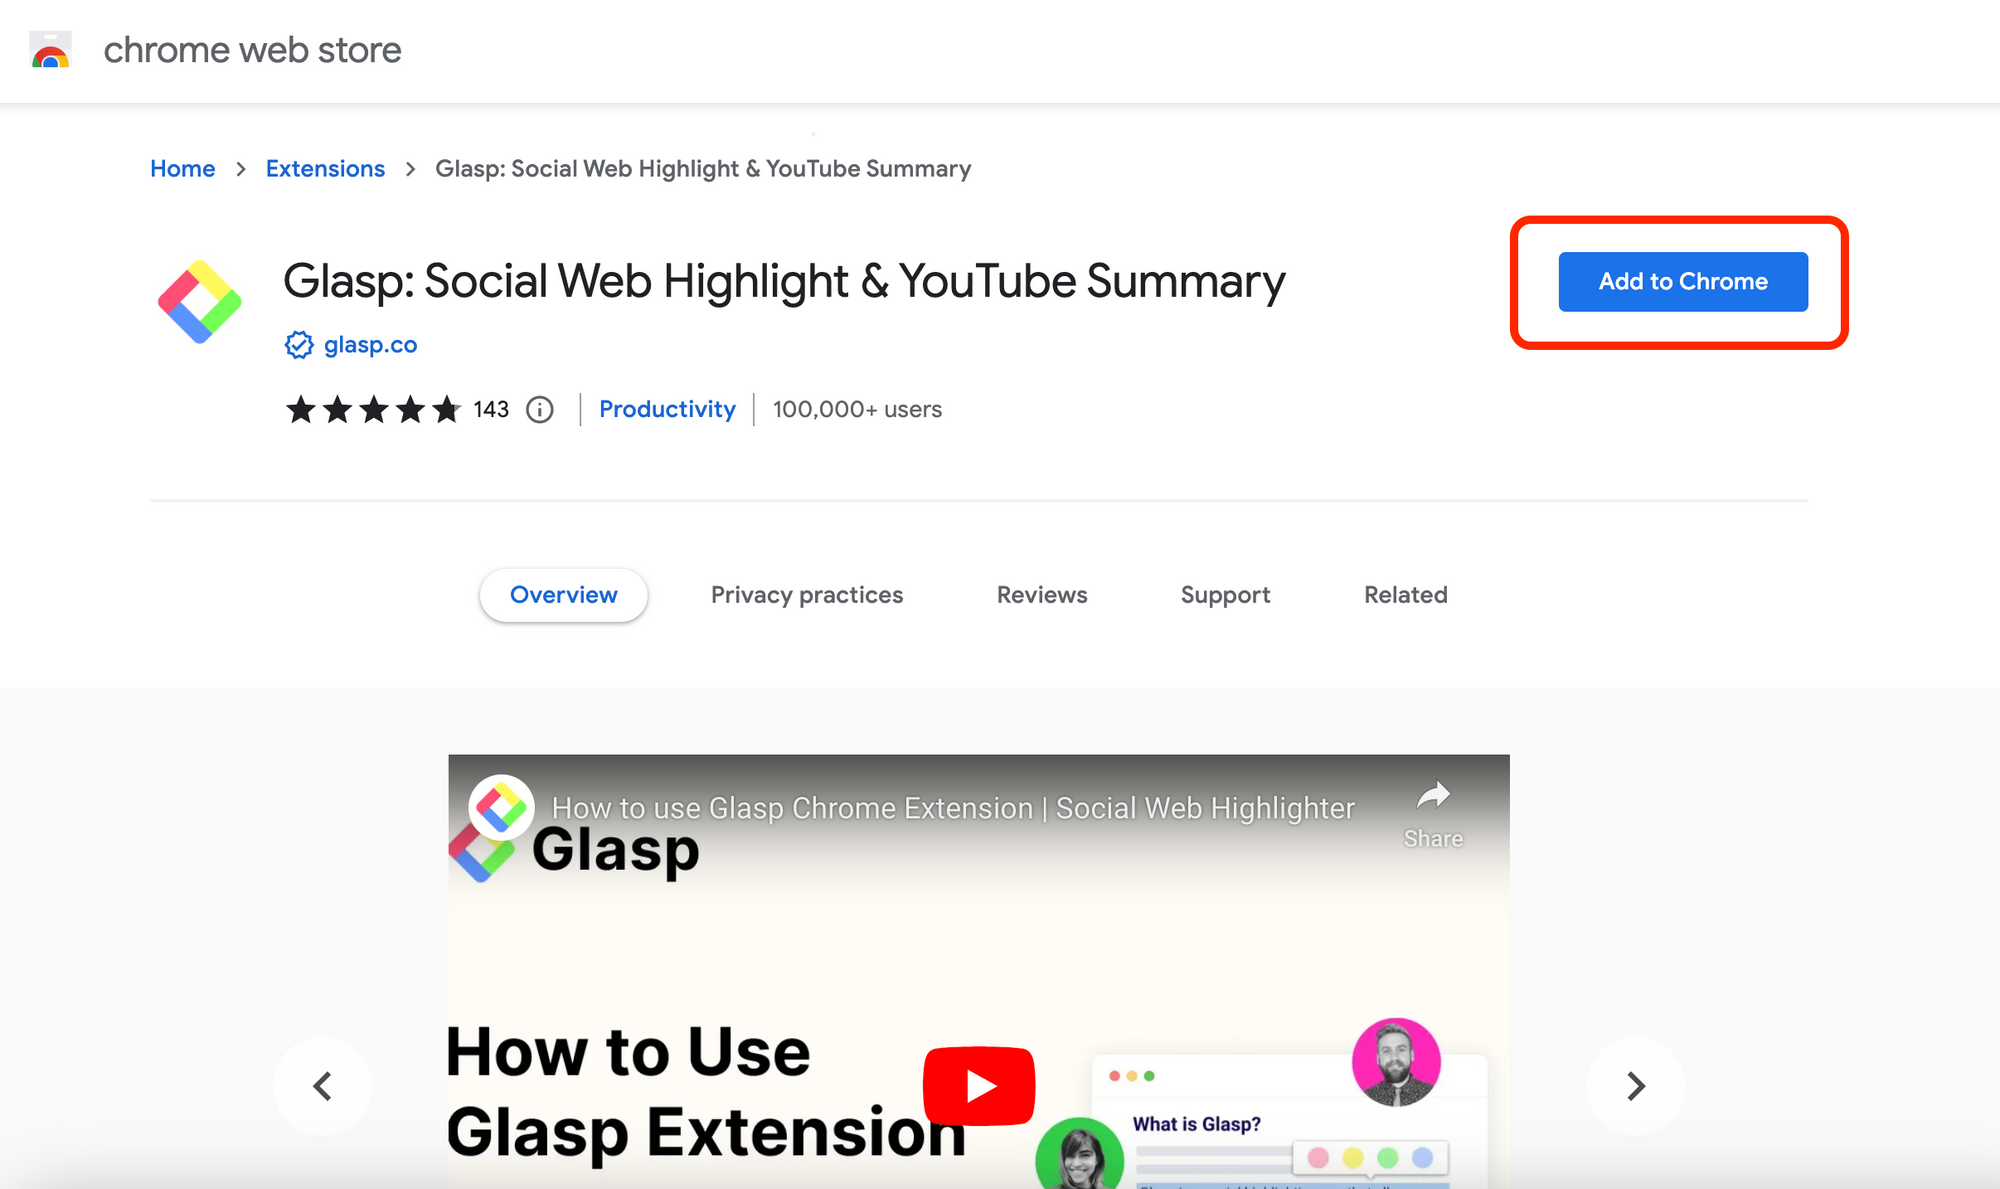
After you install the Chrome extension, it’d be nice if you pin the Glasp extension for your efficiency.

Step 3: Open an article
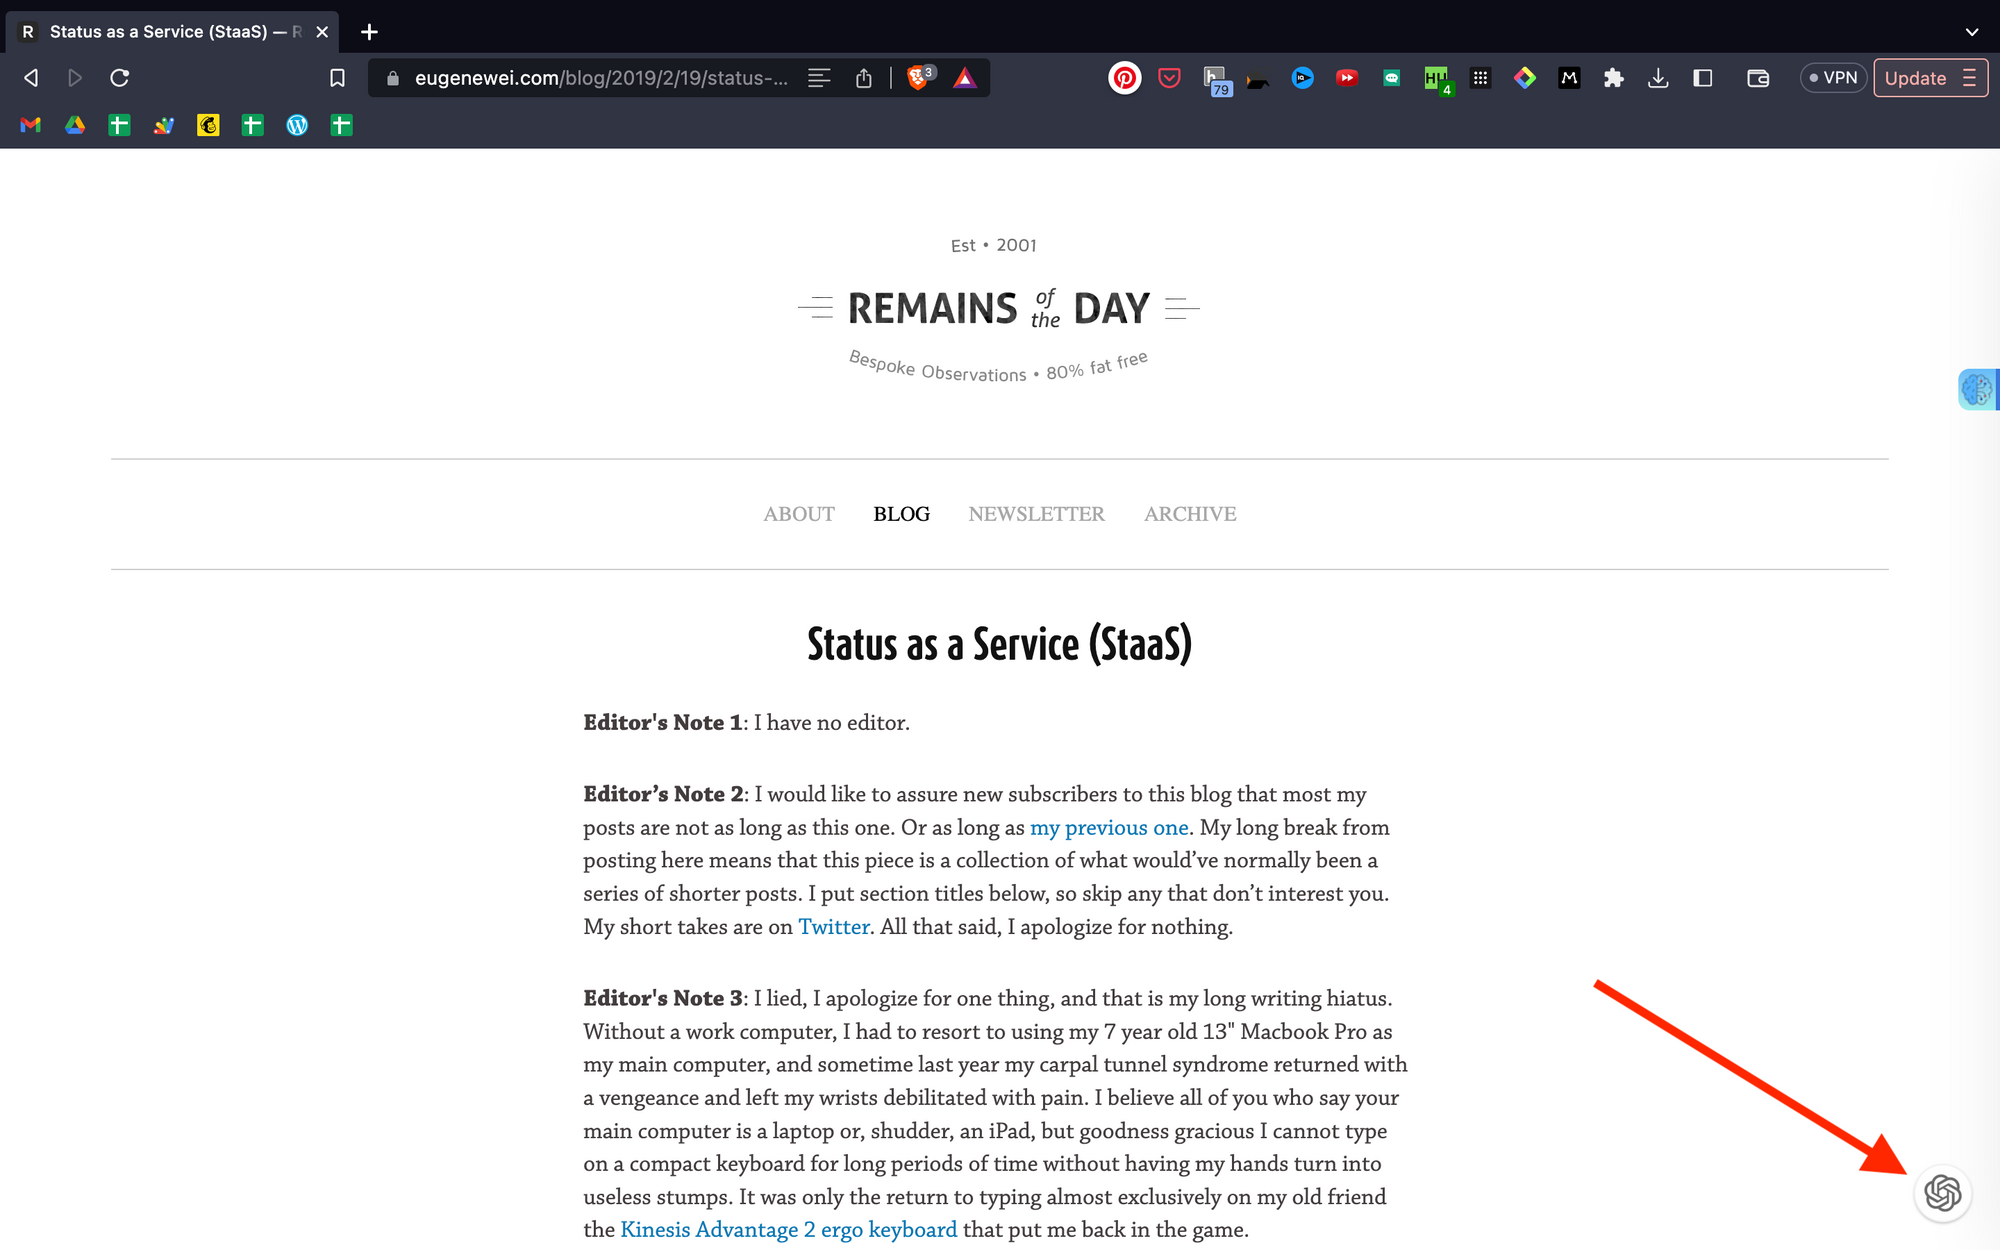
In this step, please open an article that you’d like to see the summary of. You can see an icon at the bottom right. So, please click it.
Step 4: Sign up or Log in to ChatGPT
It opens ChatGPT’s page on a new tab. If you haven’t created an account for ChatGPT, please make one. And if you already have it, please log in. If you can successfully sign up or log in, you can see a page like below.
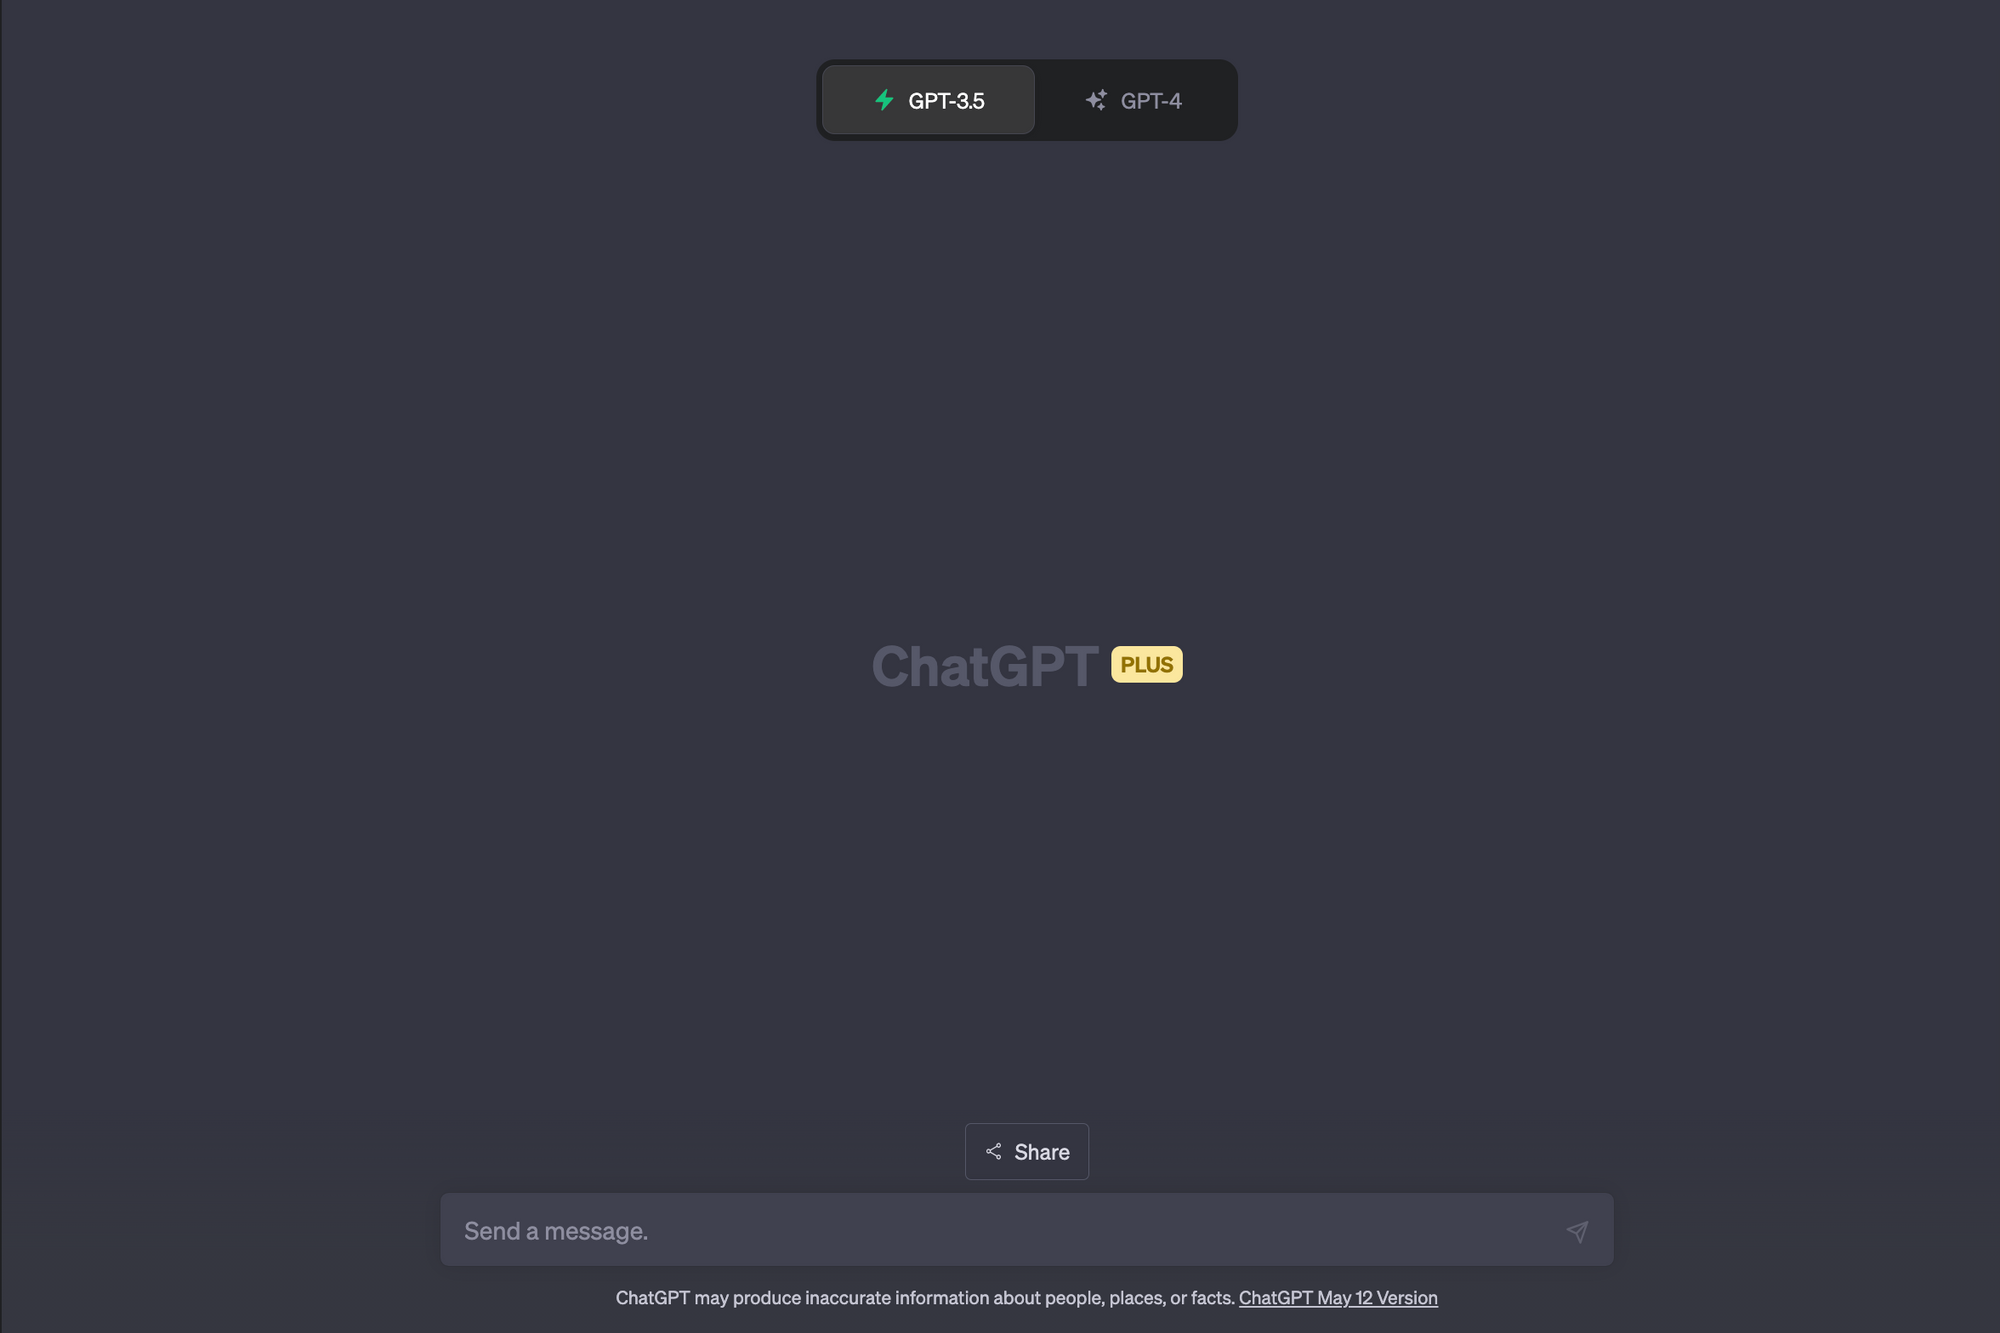
Then, please go back to the article and click the OpenAI icon again as you did in Step 3. It opens a new tab of OpenAI.
Step 5: Summarize the article
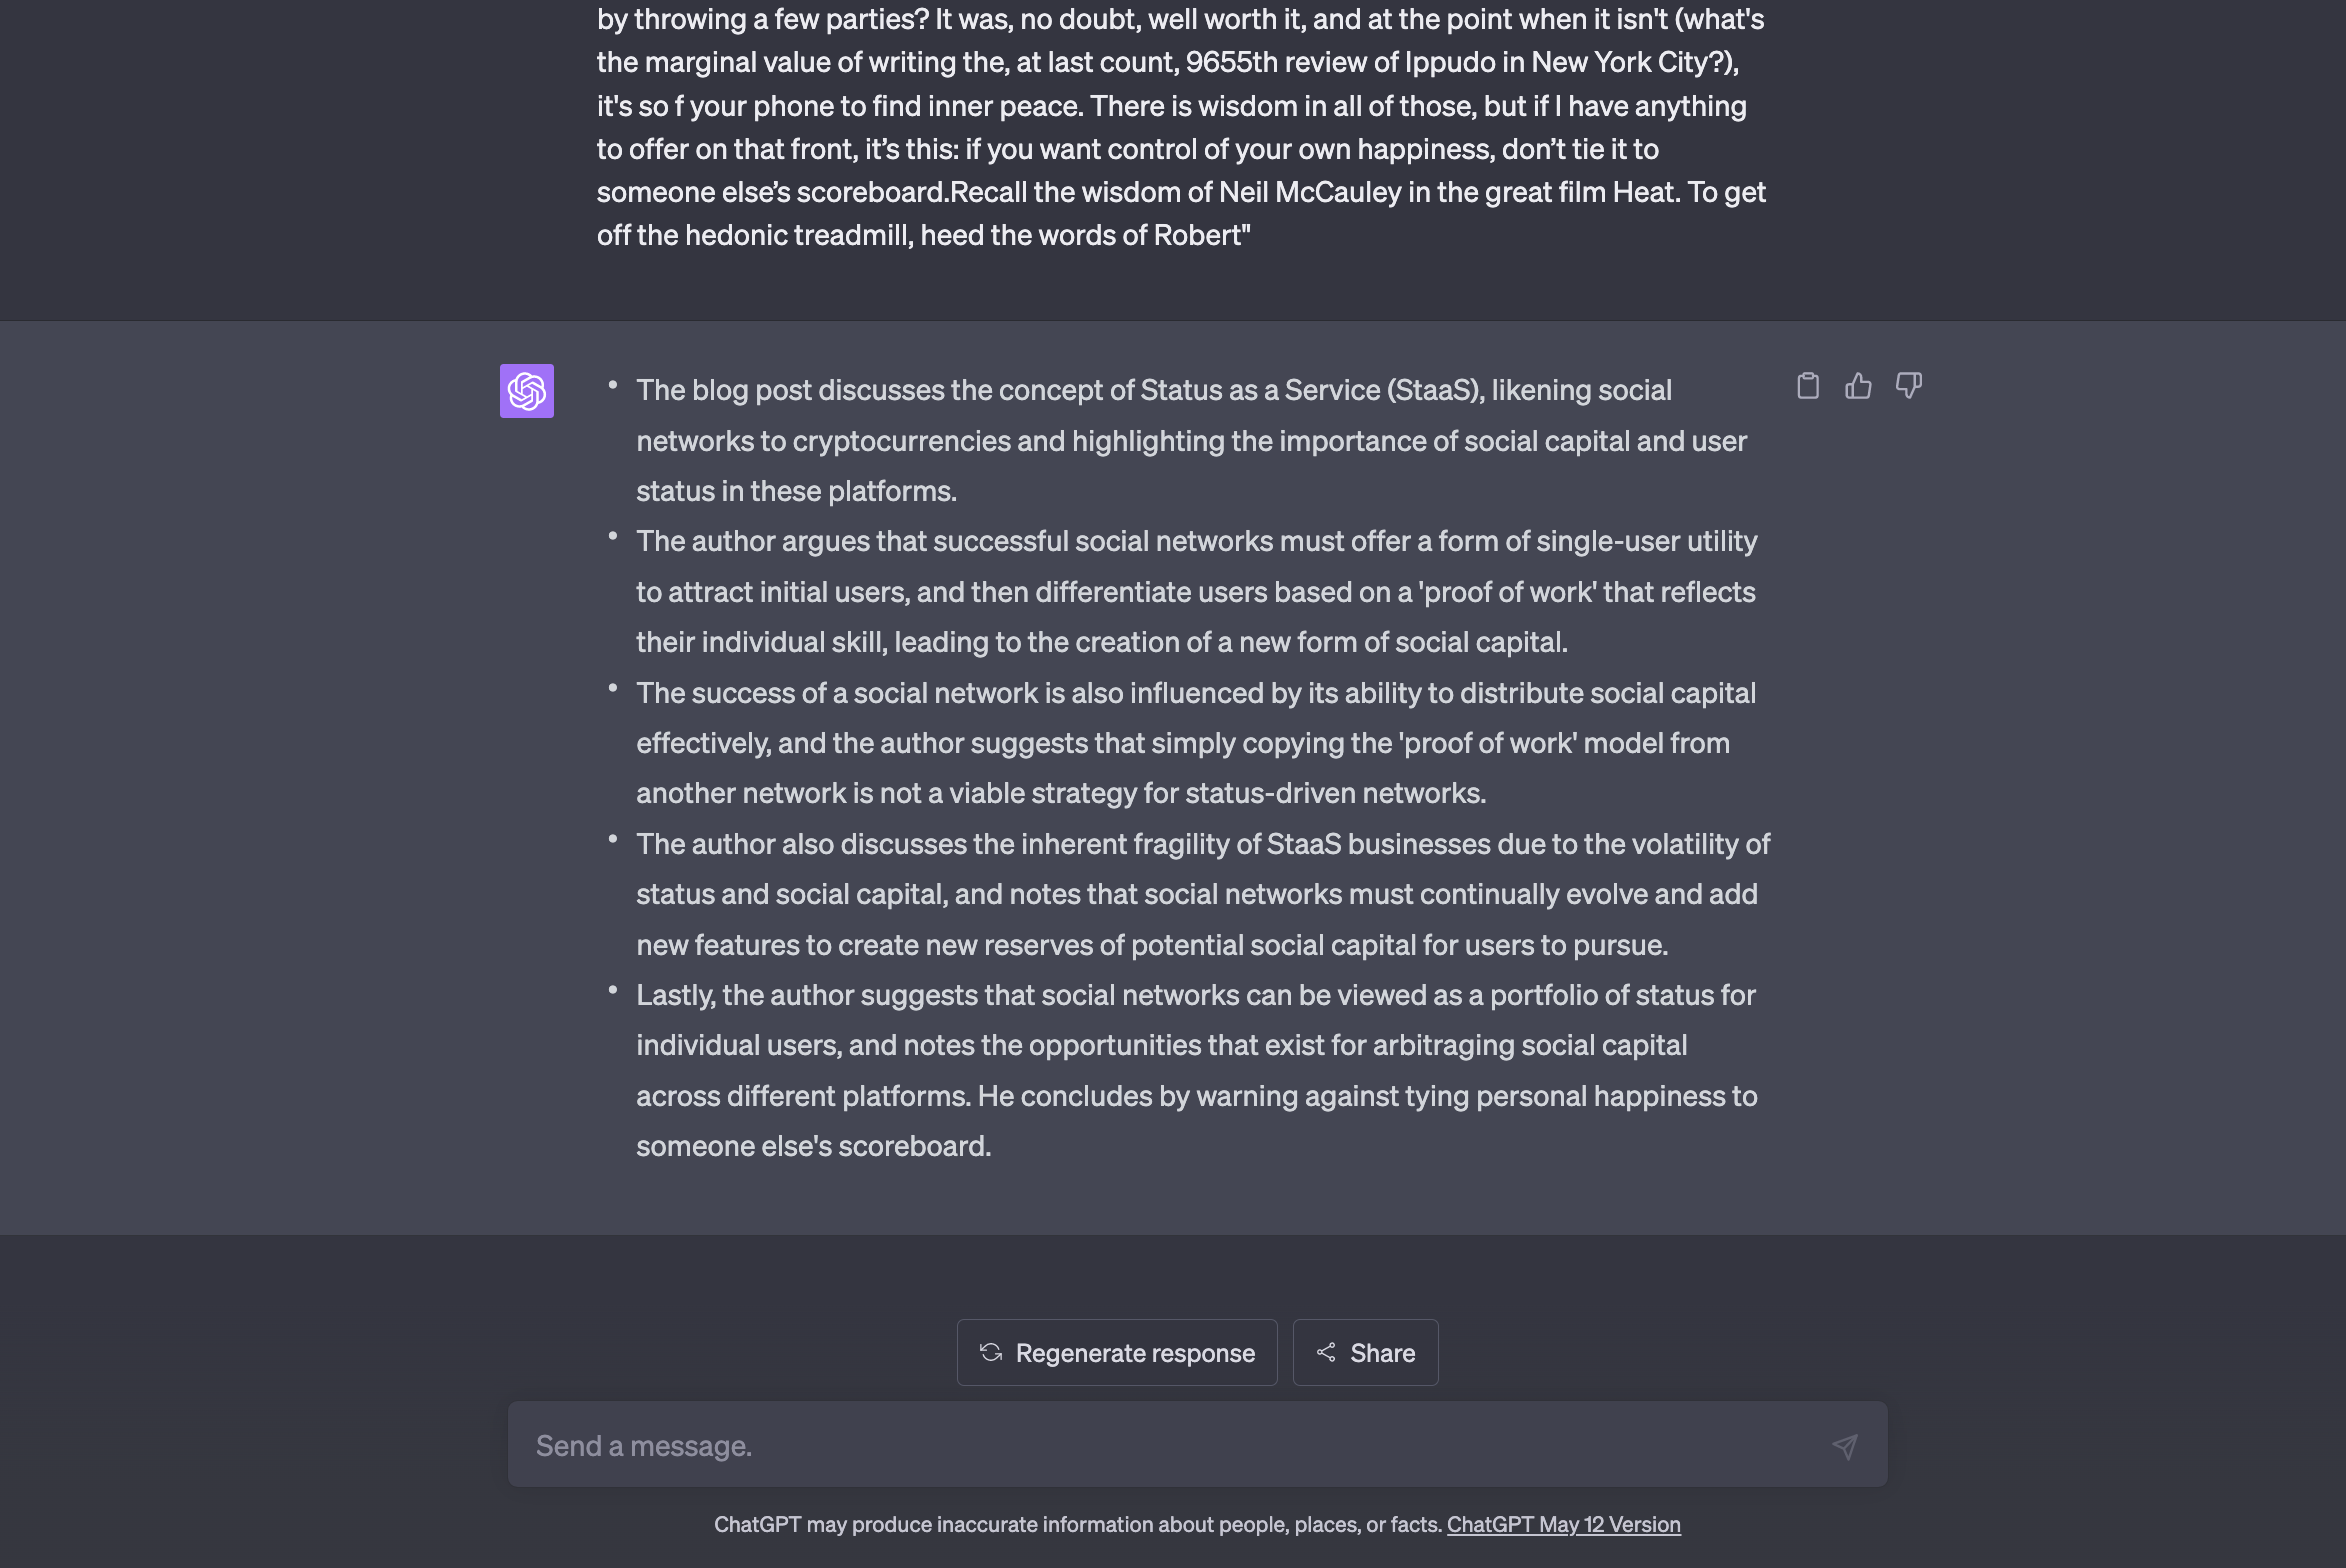
After you successfully signed up or logged in to ChatGPT, please click the icon at the bottom right of the article as you did in step 3. It opens ChatGPT and puts all the text of the article with a prompt to summarize. Wait until ChatGPT gives you a summary of the article.
Step 6: Save the important part of the article (Optional)
This is an optional step for people who’d like to save the important points of the article.
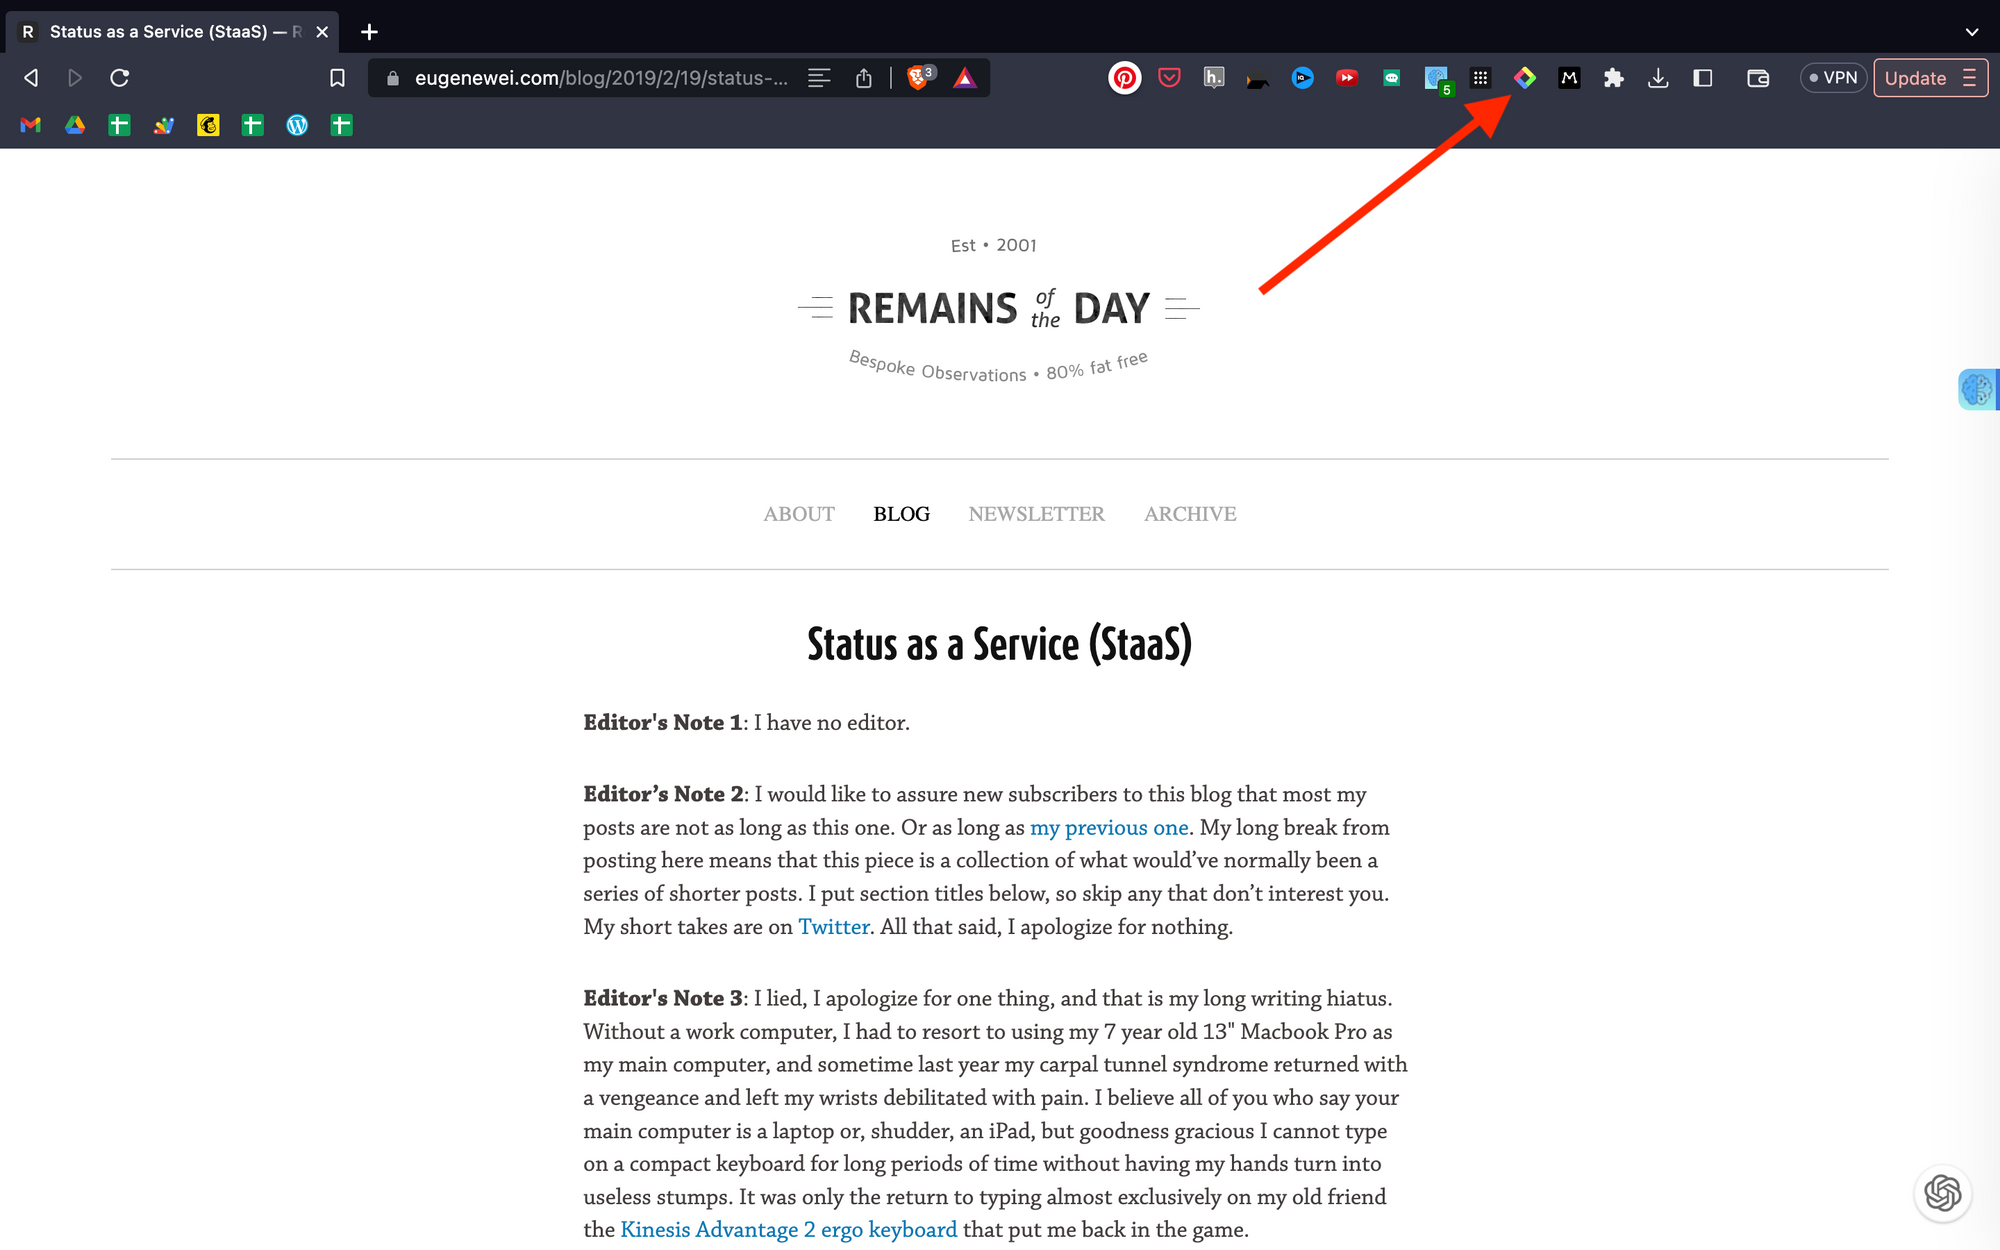
To do that, you need to have a Glasp account. In order to make one, please click the Glasp icon on the toolbar.
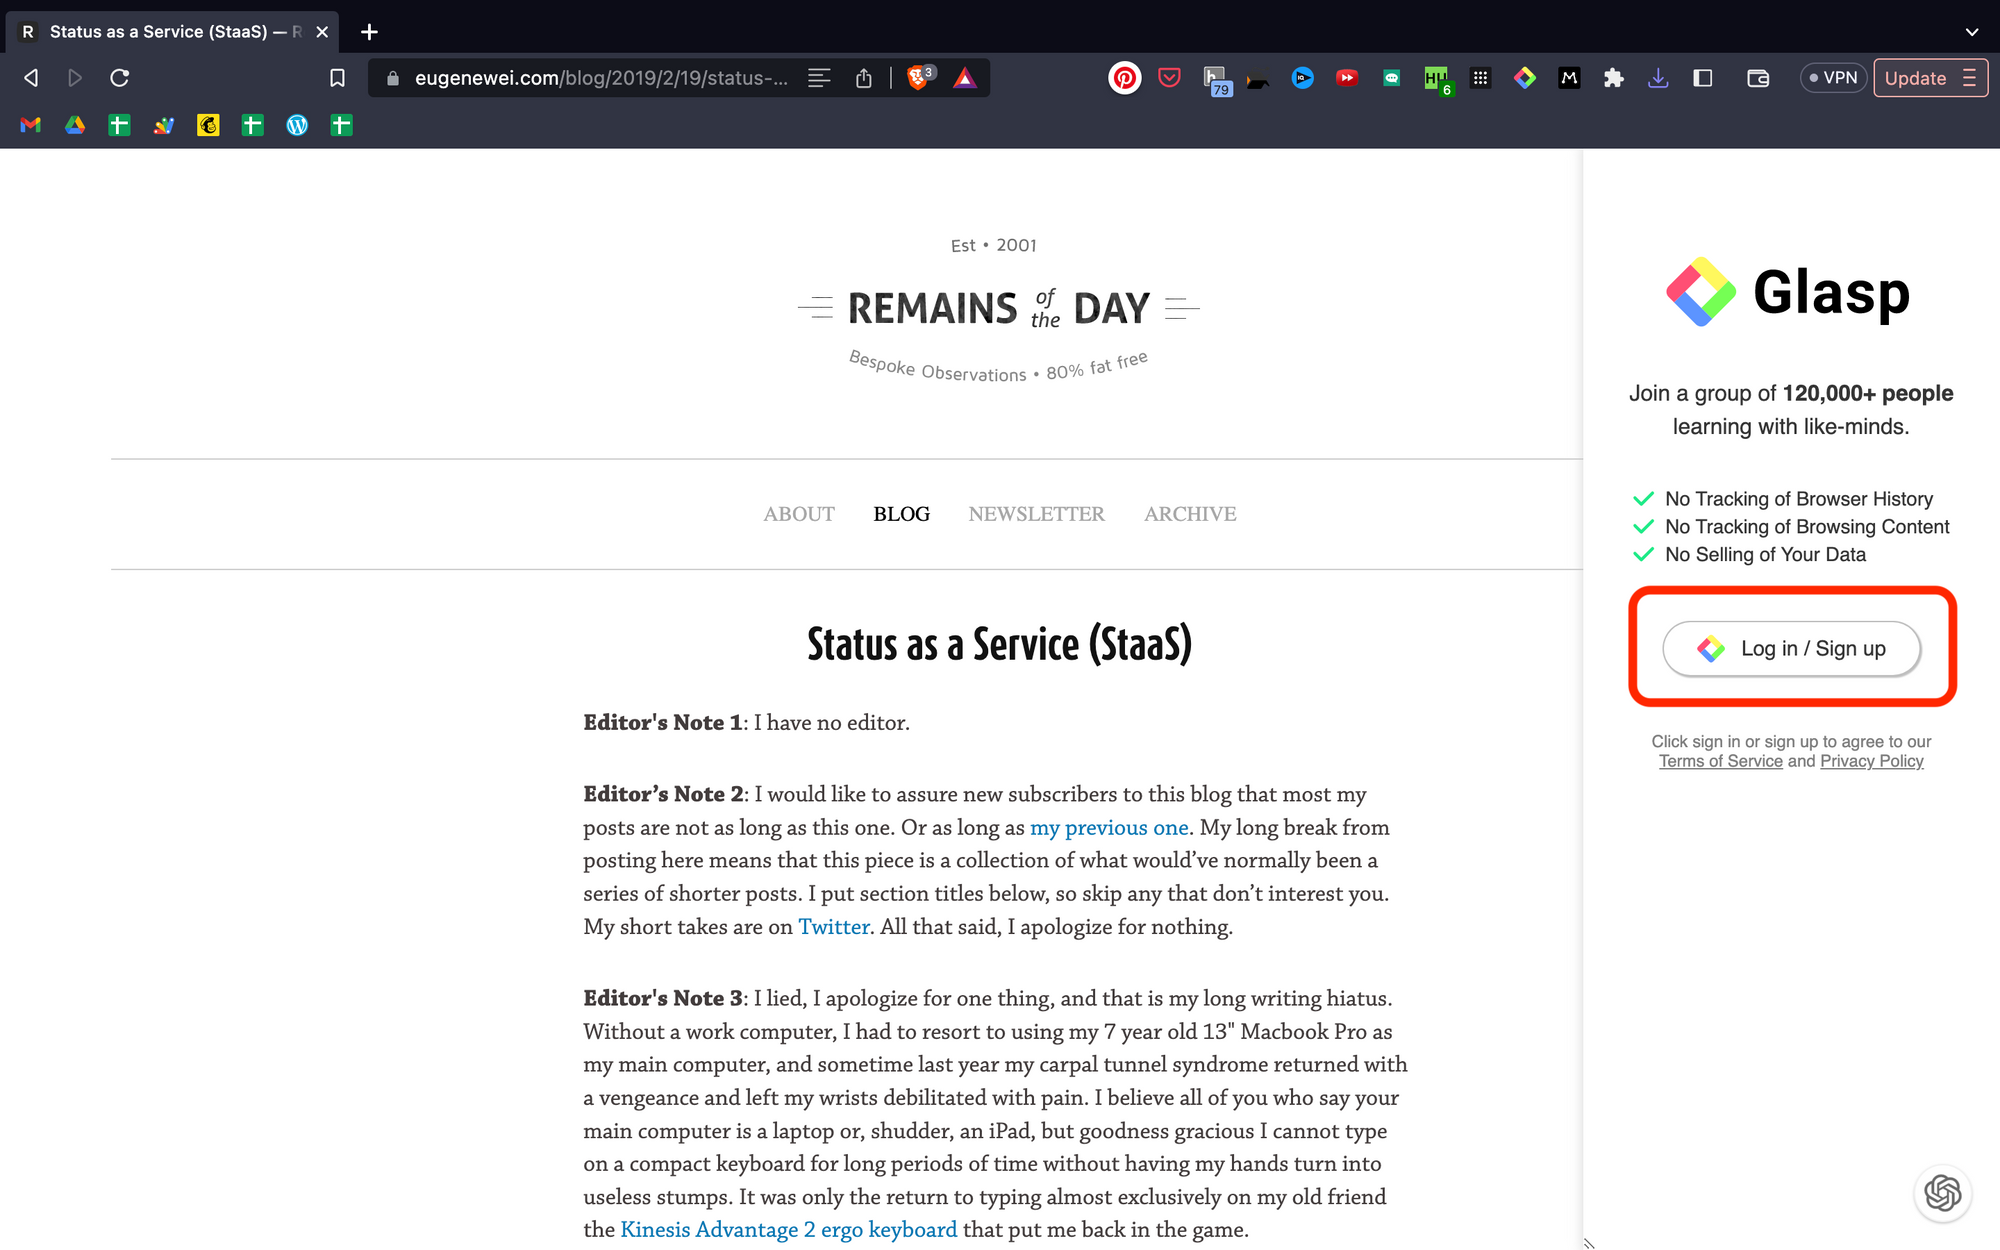
It opens the sidebar, and you can see Log in / Sign up, so please click it. We have only Google sign-in now.
Step 7: Highlight the article (Optional)
After you successfully create a Glasp account, please try to select sentences on the article.
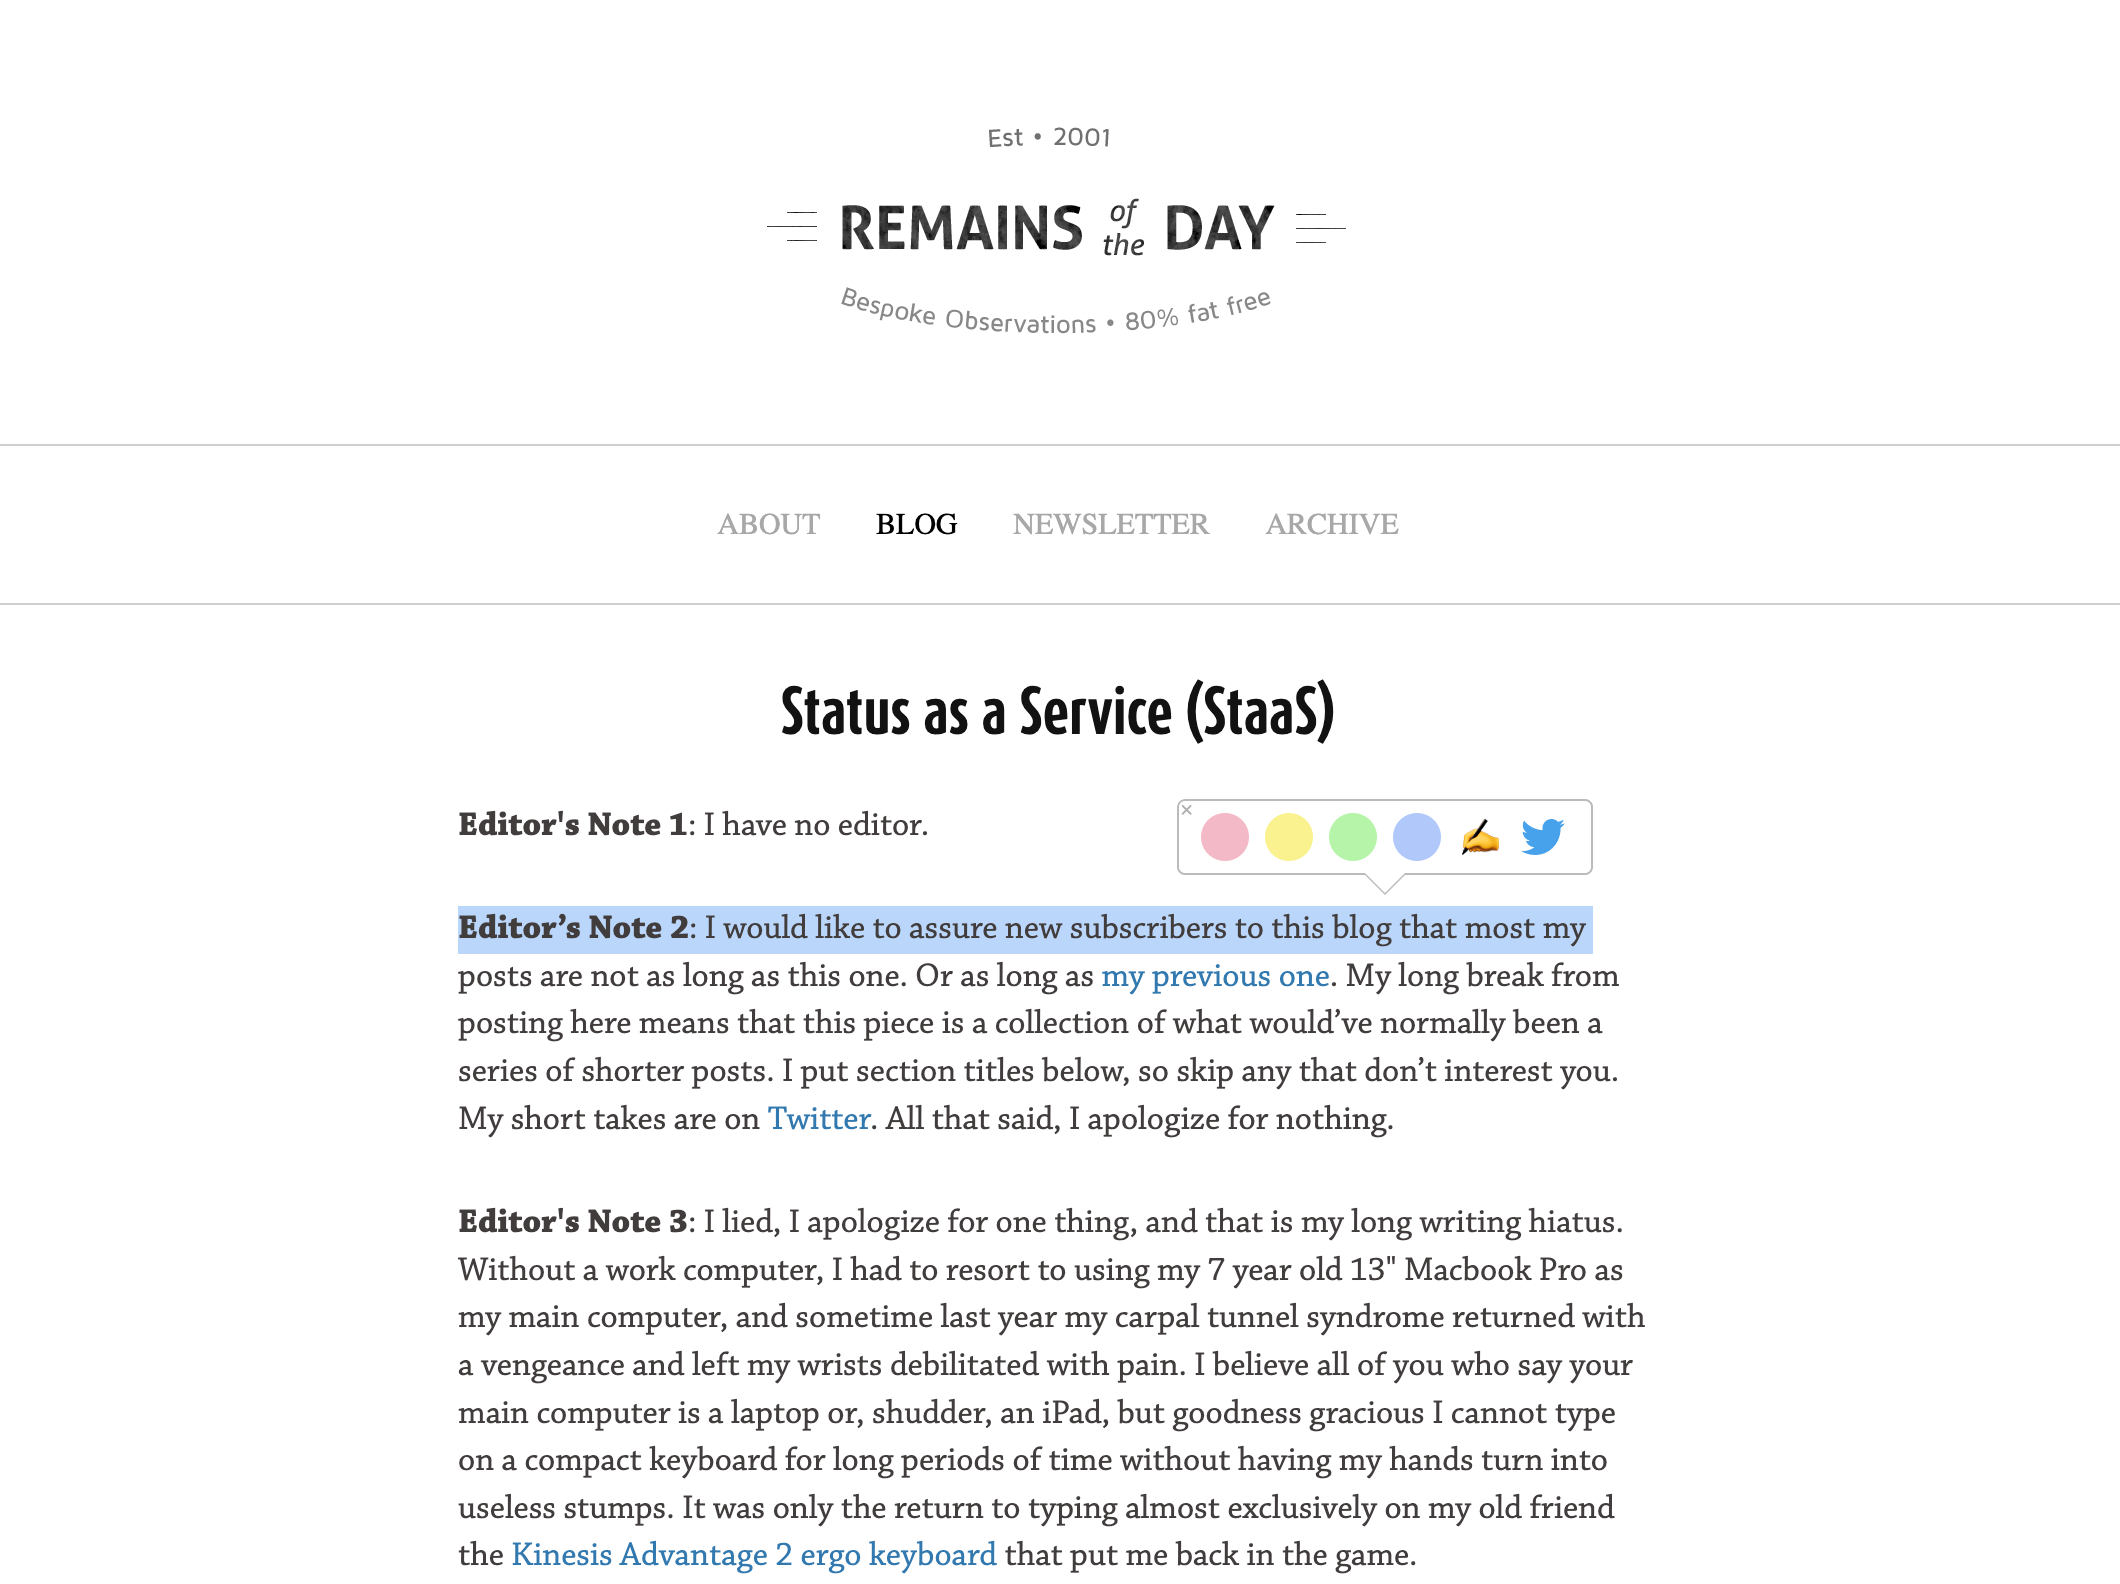
After highlighting sentences, please open the sidebar by clicking the Glasp icon on the toolbar. It shows all of your highlights.
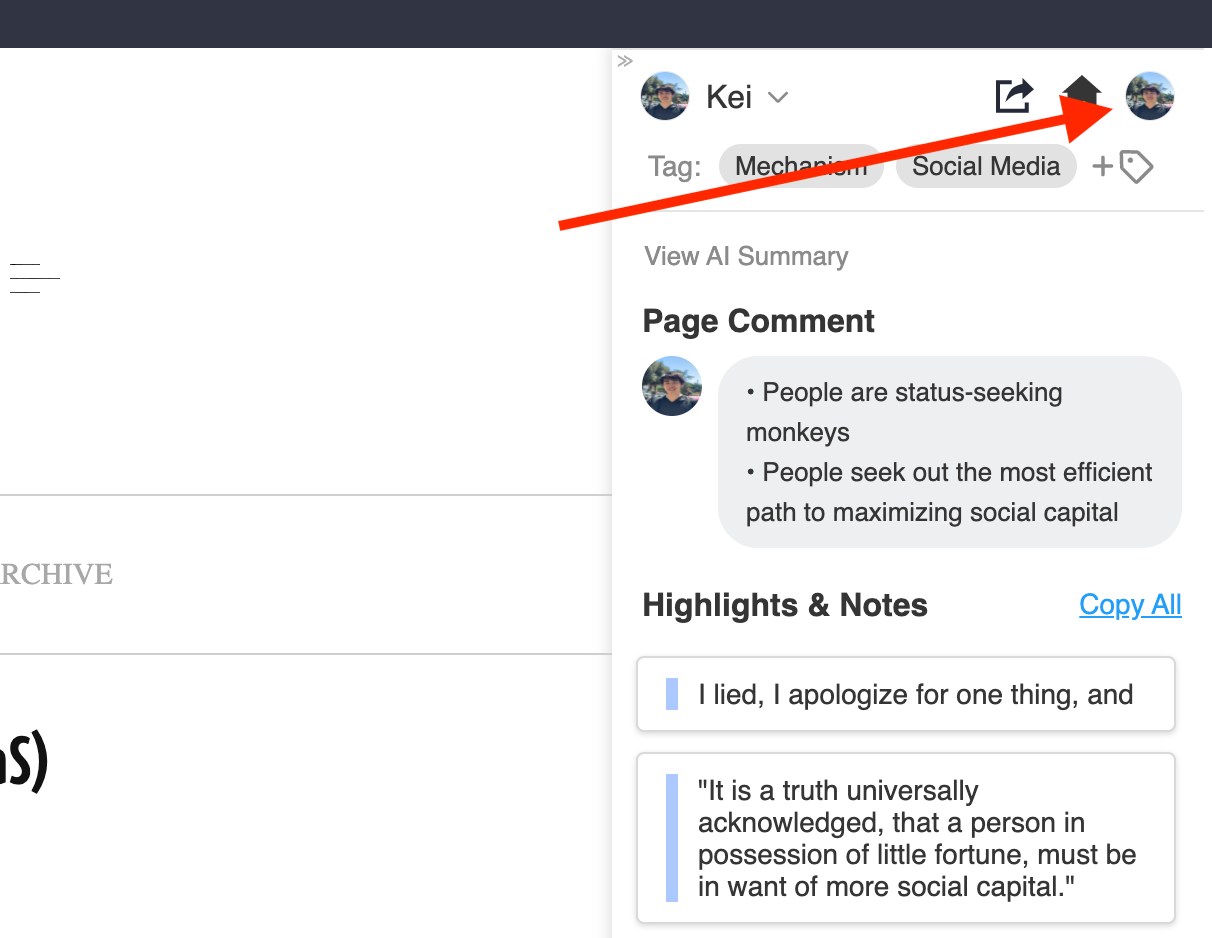
And by clicking your profile icon at the top right, you can go to your profile page.
Step 8: See your article highlights (Optional)
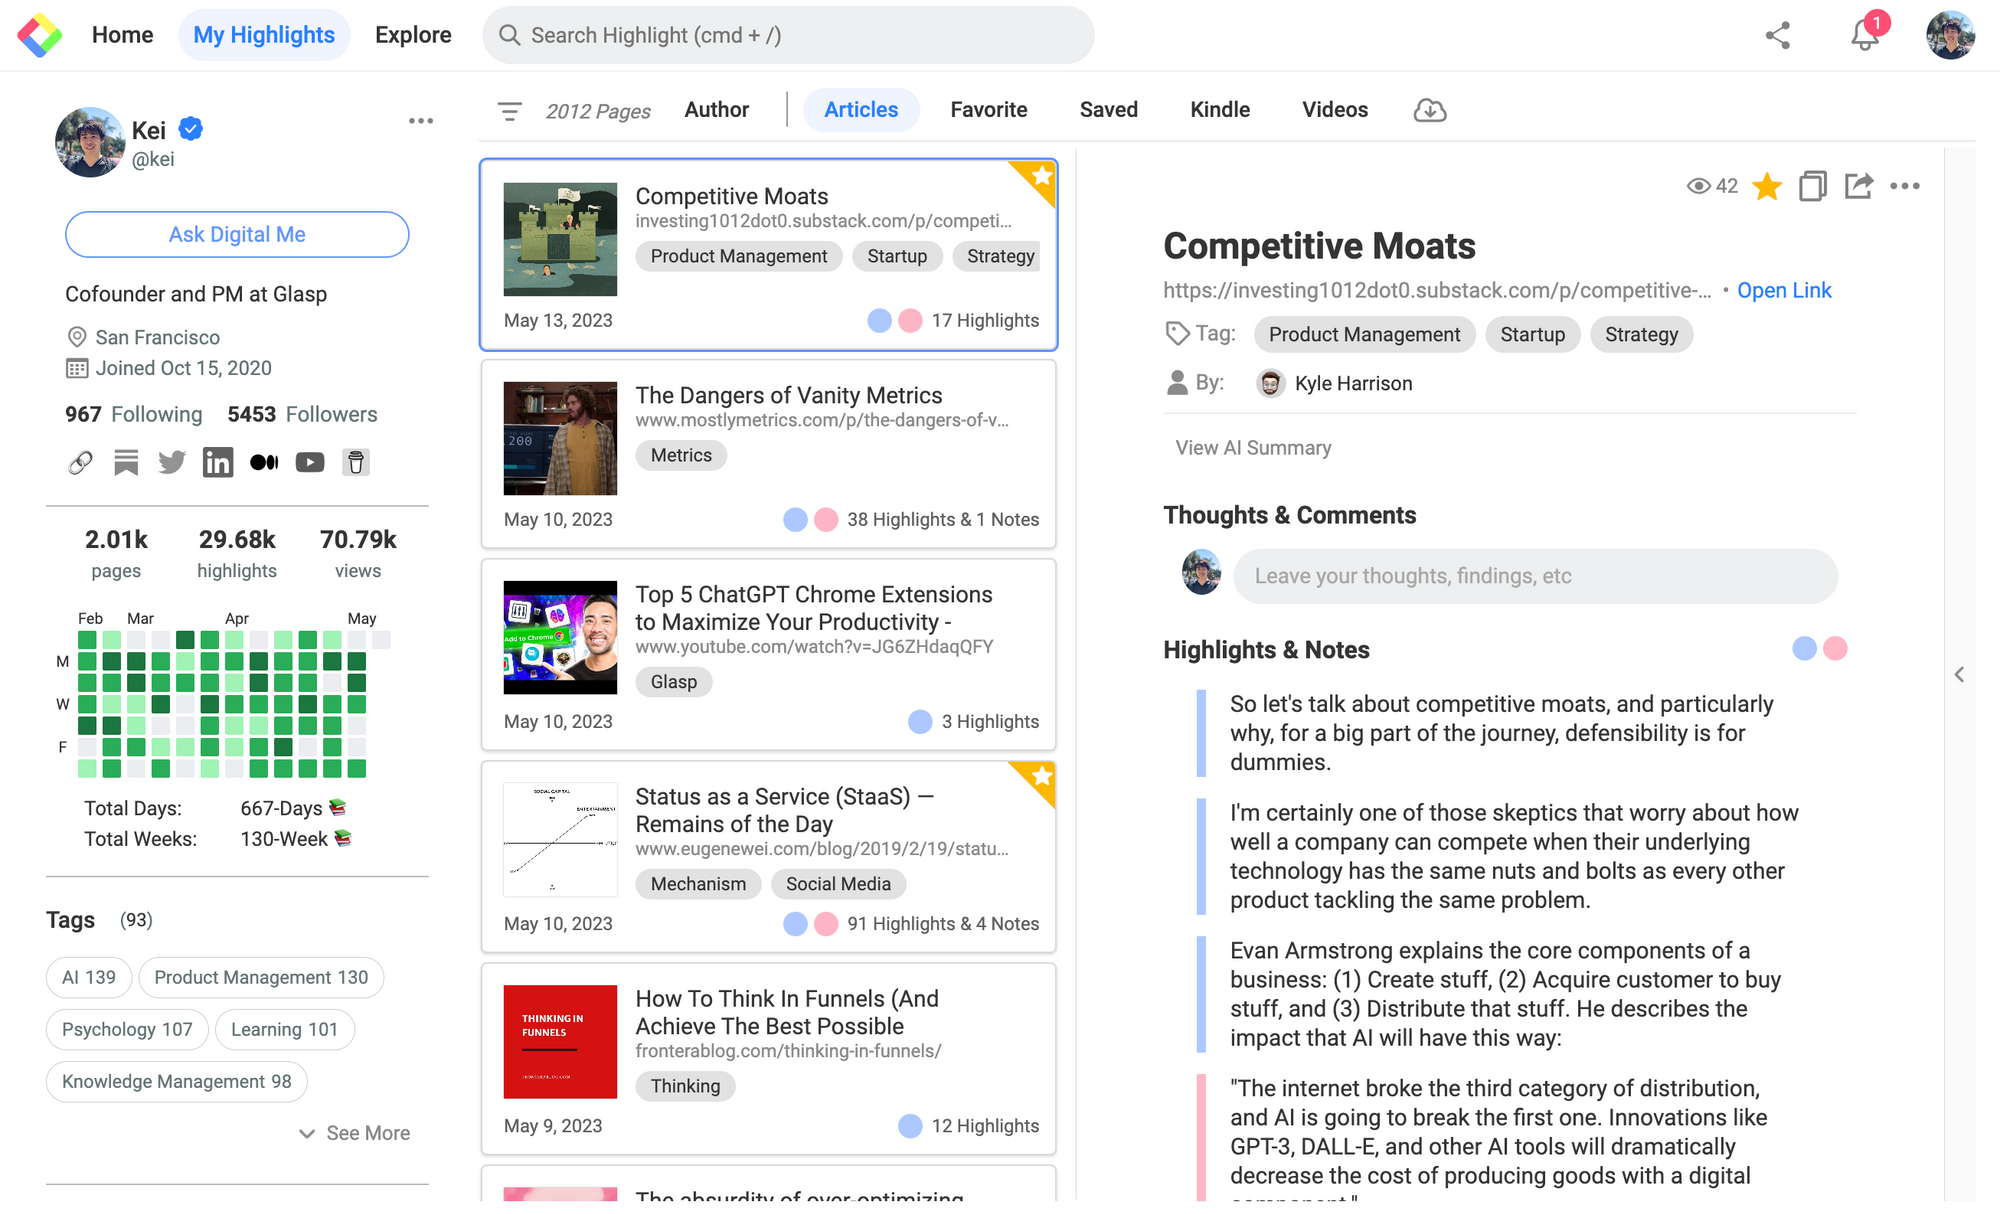
This page is called My Highlights. On this page, you can see your highlights and notes. As you can see in the picture above, you can see highlights from the article.
If you want to share your highlights & notes, you can just copy the link to Glasp (this page). The recipient of the link can open this page and see your highlights.
Step 9: Hide the Summary Icon from the web (Optional)
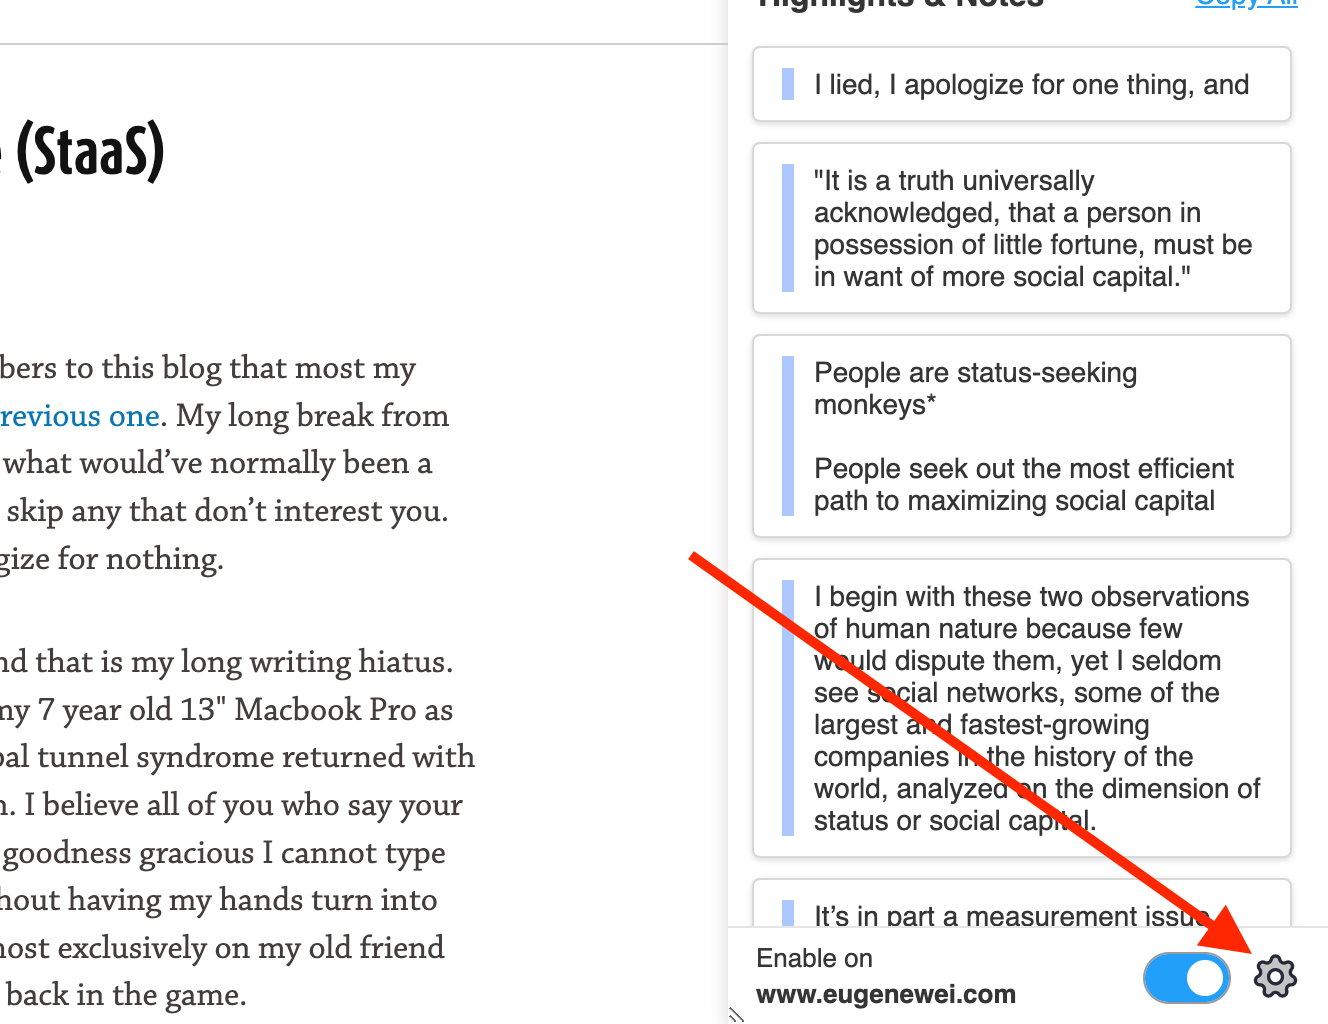
If you don't like to see the summary icon on the web, you can hide it. To do that, please go to the Settings page by clicking the Setting icon at the bottom right on the sidebar. Please click this link.
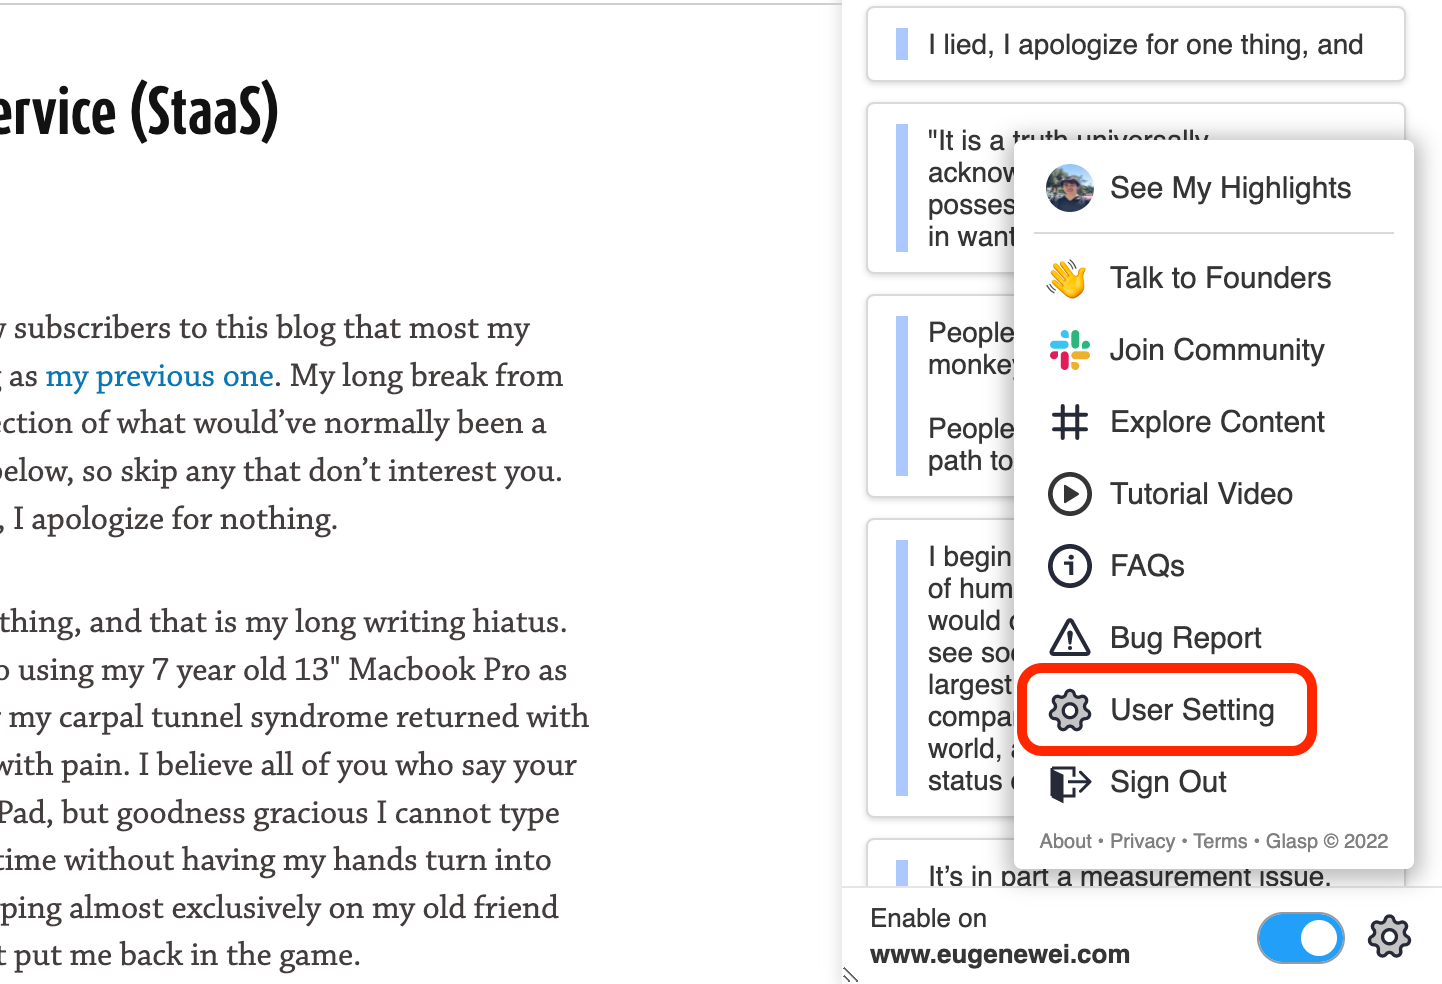
You can see User Setting, please click it.
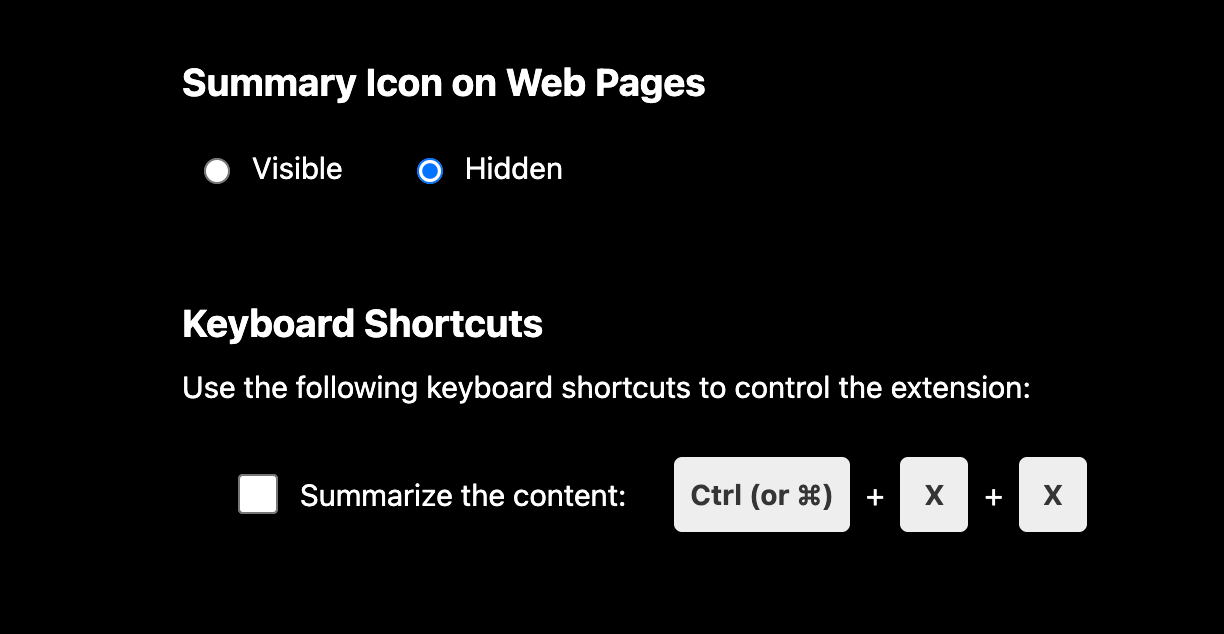
On the Settings page, please scroll down to the Summary Icon in Web Pages section. You can see Visible and Hidden. To hide the icon, please choose Hidden.
Step 10: Set up a keyboard shortcut for the article summary
If you'd like to summarize the article through a keyboard shortcut. You can set it up. Below the Summary Icon in Web Pages section, you can see Keyboard Shortcuts. Click the check box to use the shortcut.
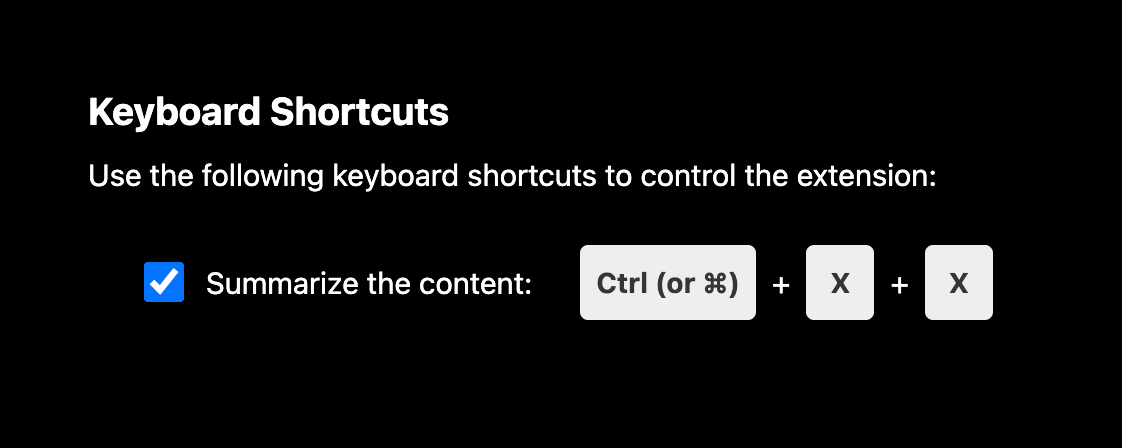
To use the shortcut, you can click Ctrl (or Command) + X twice.
Before you leave
If you have any questions, please look at the FAQ or message us.
👉 FAQs
👉 Slack
See you next time,
Glasp team
—
